Got a new iPhone and not sure where to start? Whether you’re new to the Apple ecosystem, switching from Android, or just upgrading your iOS, setting up your new device can be a bit overwhelming. But don’t worry! This beginner’s guide will walk you through the setup process in 10 easy steps. Let’s get started and make your new iPhone feel like home!
Table of contents
Which iOS version or iPhone model should you go with?
As a first-time iPhone user, you will need to understand the basics of iOS first—the operating system for Apple’s phone—which is pretty simple to use.
iOS natively includes a hands-on feature, multi-touch screen, easy-to-use interface, and built-in apps to get the most out of the device. In short, it’s what makes the iPhone work the way it does.
Regardless of the model, all iPhones run the same software. For example, if you are looking for a 5G compatible model, you can go for an iPhone 12.
If your concern is good performance, you can get an iPhone 14.
Or, if budget is your only aim when getting a new handset, you can buy an iPhone SE 3. They are all used in the same way, and they can be perfect iPhones for beginners.
They are all used in the same way and are compatible with the latest operating system, iOS 18, ensuring full compatibility with Apple’s latest software and security updates.
👉 Learn more: iPhone 11 vs. iPhone 13: A Complete Comparison Guide
How to use and set up an iPhone as a beginner
Here is a list of the ten things you can do as a first-time iPhone user to set up your phone and enhance your experience.
1. Create an Apple ID
To get started with your iPhone and use many of the features of your device, you need to create an Apple ID account. You can use your primary email or any other email address.
👉 Learn more: 7 Best Email Apps for iPhone in 2024 (for Free!)
Once created, you will be able to use the App Store to find the best iPhone apps to enhance your experience or native apps like iTunes to listen to your favorite music and podcasts.
Remember that the iCloud sync will occur only if you are logged in with the same Apple ID, as seen in the next step.
2. Synchronize iOS devices with iCloud
If you already have an Apple ID, you can sign in and synchronize the data you may have in our other Apple devices—such as the iPad or another iPhone— with iCloud.
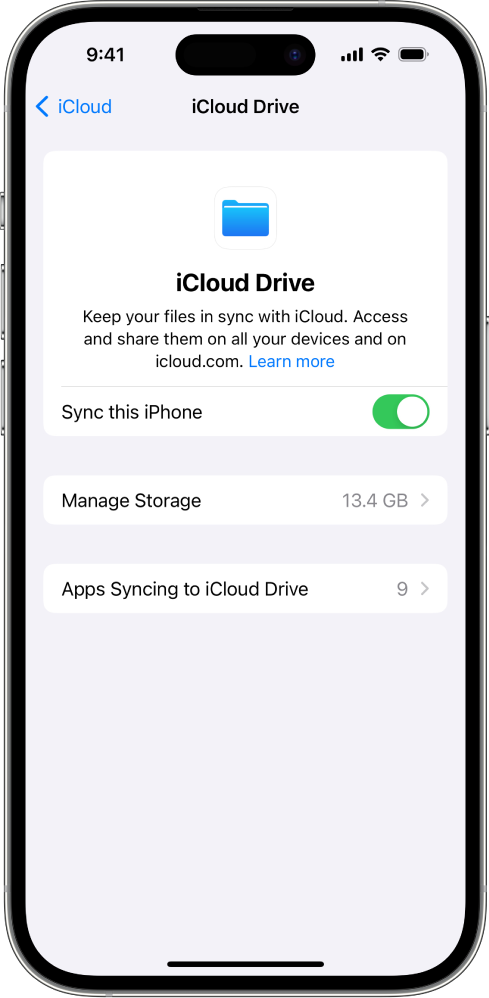
Image by: Apple
All the information you synchronized will be automatically downloaded to your new iPhone, and you can use it to create new backups.
The iCloud sync allows you to share content seamlessly across your iOS devices. For instance, the pictures from your iPad or the contacts of your previous iPhone model will be accessible at any moment when you have synchronized your device.
3. Configure Your Privacy and Security Settings
You can check which apps are using location to track your information and allow permission. To secure your phone even further, you can set up your Face ID, Passcode, or fingerprint impression.
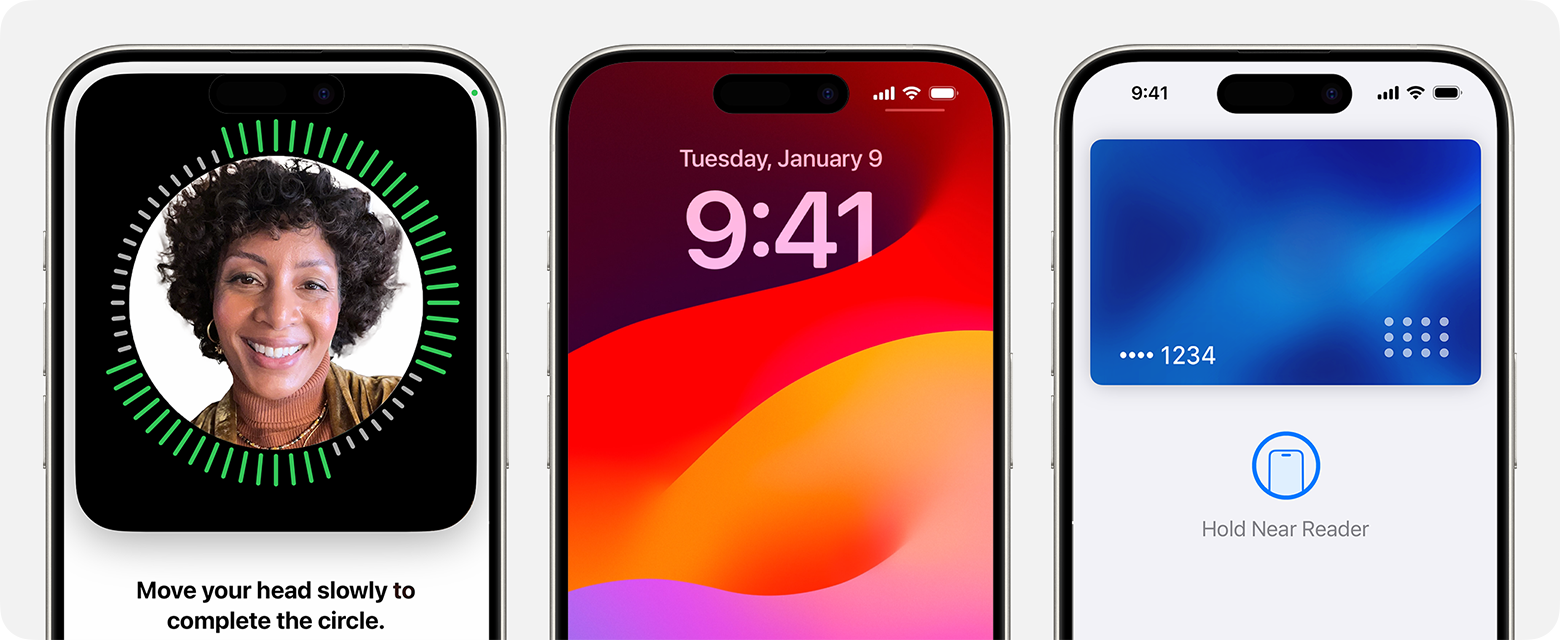
Image by: Apple
To track your iPhone, you can use the Find My iPhone app, which can make your iPhone beep if it’s missing and located nearby.
4. Switch your data from Android to iOS
Back in 2015, Apple introduced an Android app called Move to iOS. As the name implies, the Move to iOS app helps previous Android users seamlessly swap their data to an iPhone.
This transition is one of the most important steps for beginner iPhone users since it allows them to have their contacts, photos, or calendars in their new phone without worrying about a manual transfer or other tedious third-party solutions.
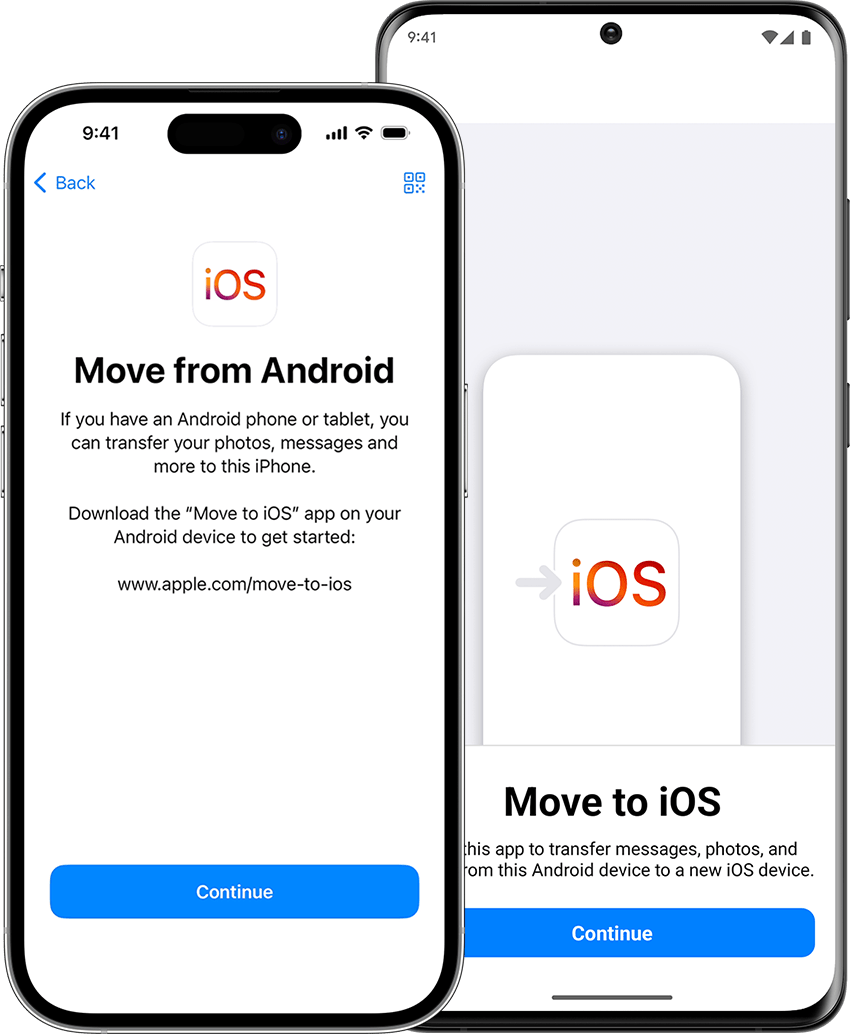
Image by: Apple
It is really easy to use. You just need to download the app from the Google Play Store on the Android device from where you want to transfer your data and follow the on-screen instructions.
5. Learn the tips
Apple offers a built-in app called Tips to learn and guide you through the first steps of using an iPhone as a beginner.
The app will show you how to use your new device’s features and native apps with collections of a specific topic.
In addition, new tips are added often, so you can come back later and see if you can learn something new about iOS.
6. Configure the Control Center
If you swipe up from the bottom of your screen, you will see the Control Center. You don’t need to be on the home screen to use it; it’s accessible in most apps. However, if you need to configure it further, you can go to Settings and tap on Control Center.
The Control Center offers some of the iPhone’s most important and handy features, such as the screen’s brightness, WiFi, Bluetooth, do not disturb mode, night shift, camera, calculator, timer, flashlight, AirDrop, music, and portrait orientation.
7. Open the Notification Center
Swipe down from the top of your screen to access the Notification Center, where you can see the last messages, calls, calendar events, reminders, and other app notifications.
You can further configure this menu in Settings as in the Control Center.
8. Enable Night Shift
You can enable the Night Shift to stop your display from emitting blue light, which can affect your sleep and cause eye strain.
This filter will allow you to read, browse, or watch videos more comfortably in low-light environments and help you sleep better at night.
You can access it in the Control Center by swiping up from the bottom of the screen.
9. Enable Siri
If you have used Google Now on your Android phone, Siri will ring a bell.
The iPhone’s voice assistant will allow you to use the typical features of iOS, such as making a call, setting alarms, taking notes, and opening WhatsApp, among many others. Moreover, some earbuds that can be used with the iPhone are compatible with Siri.
You can activate the voice assistant when you first set up your iPhone, but you can also enable it in Settings > Siri.
To give Siri a command, just say, “Hey Siri.”
10. Use AirDrop
The AirDrop feature makes it easy to share documents, photos, videos, and files between Apple devices, such as other iPhones, MacBooks, and iPads.
You can wirelessly transfer files when they are nearby and connected to the same WiFi network as your iPhone.
To use it, select AirDrop from the share sheet when you want to share an item.
Enhance your iPhone experience with built-in apps
Apple phones are known for their ease of use, durability, and years of support, even for seemingly outdated models.
Their usability comes from one simple operating logic: all the apps will launch from the home screen.
For a first-time iPhone user, Apple’s built-in apps add more value to the user experience, like Maps, Photos, Mail, Safari, or Siri. Safari has been the best browser after Chrome.
The smooth gestures and quick transitions available in a different fashion than the Android version of the same apps save time and effort.
Also, if you use a similar Android phone app on your new iPhone, you will be blown away by the differences. The ones on iOS look beautiful and have a cohesive design language.
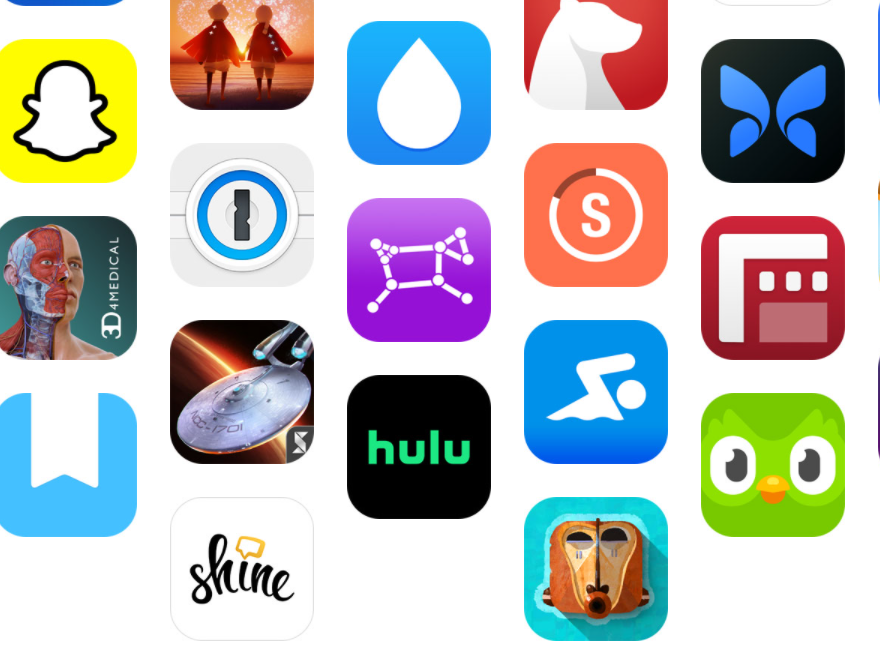
With iOS 14, Apple made it easier to customize the way your iPhone looks. They offer new widgets and more straightforward methods for setting custom application icons.
One of the biggest names around when it comes to iPhone widgets is Widgetsmith. This app lets users add photos, text, quotes, and more.
👉 Learn more: 21 Best Classic and Old iPhone Games You Can Still Play
Refurbished iPhone vs. new iPhone: lower price, same performance
We’ve seen the benefits of getting and using a new iPhone. They are easy to use, have excellent performance, and offer a wide range of features.
Nonetheless, budget is a major concern for many users who are still hesitant to try them out.
If you want to get one at a lower price and still have the same performance, you may look for refurbished iPhones.
Refurbished products are returned to perfect working condition and sold at a reduced price, functioning like a new model. In addition, it is a very convenient option for a first-time iPhone user.
On RefurbMe, we specialize in comparing the best refurbished Apple products available in the market.
Check out the best iPhone compatible with the latest iOS 18 deals in real time here. 👇
👉 Learn more: 6 Best Places to Buy Refurbished iPhones
Takeaway
Using the iOS platform after switching from Android to an iPhone doesn’t need to be a headache. Apple does an excellent job with new user onboarding. The process is straightforward, simple, and easy, and iOS offers many tips to get started with your handset. You can also improve your experience by learning how to use features like Siri and AirDrop.
👉 Related comparison: iPhone 14 vs. iPhone 15
We hope this iPhone for beginners guide has helped you set up your handset. Don’t hesitate to follow the recommendations shared here to get the best out of your new iPhone, and visit RefurbMe to find the best refurbished Apple deals with excellent discounts!
Good luck!
