
That sinking feeling when you hit the power button on your Mac and are met with an unresponsive black screen is all too familiar. Don’t panic! A Mac refusing to start is a common issue, and often, the solution is simpler than you might think. This article will walk you through ten troubleshooting steps, from basic checks to more advanced techniques, to help you revive your Mac and get back to work (or play!).
Table of contents
- 1. Check the power connection
- 2. Hit the reset button
- 3. Boot in Safe Mode
- 4. Check the display
- 5. Reset the SMC
- 6. Resett the NVRAM
- 7. Reinstall macOS
- 8. Run Apple Diagnostics
- 9. Contact Apple Support
- 10. Consider a refurbished Mac
1. Check the power connection
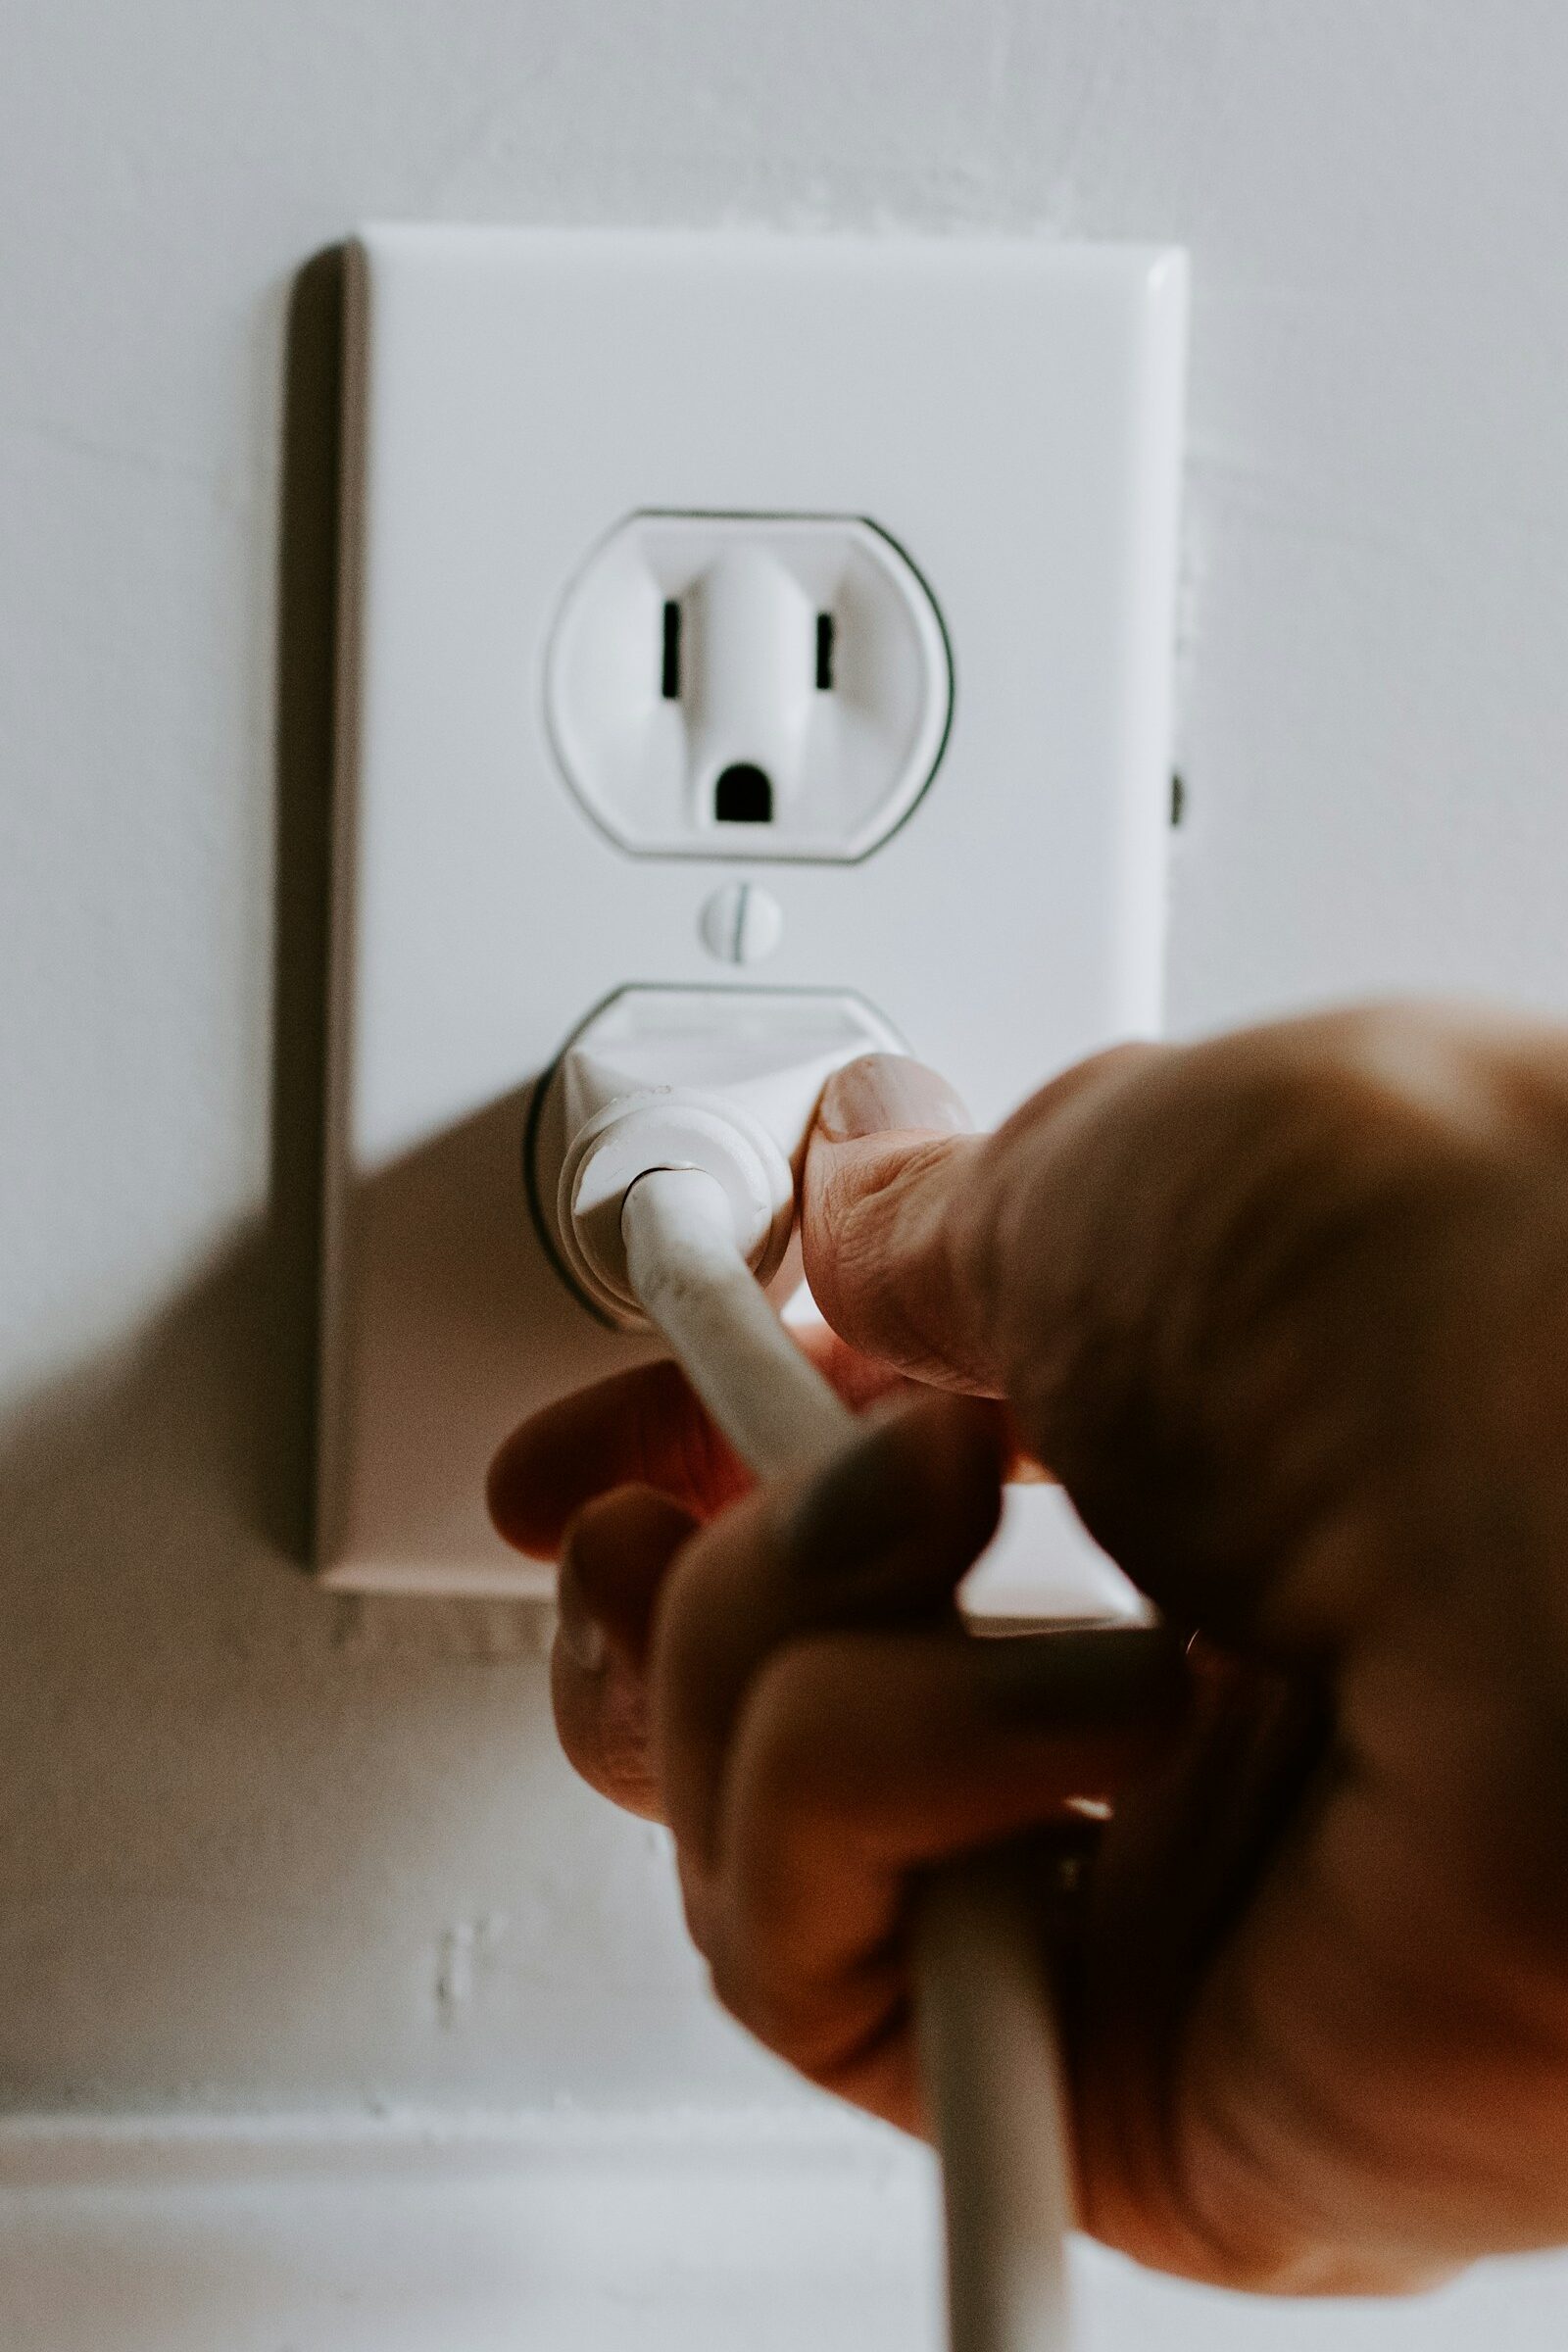
It might seem obvious, but sometimes the simplest solutions are the easiest to overlook. Before you dive into complex troubleshooting, let’s start with the basics:
- Check the power cord: Make sure your Mac’s power cord is securely plugged into both the computer and a working wall outlet. It’s easy for cords to become loose, especially with pets or kids around.
- Test the outlet: Don’t assume it works just because it looks fine. Plug another device (like a lamp) into the outlet to confirm it’s supplying power.
- Inspect the cord: Examine the power cord for any signs of damage, such as fraying or exposed wires. A damaged cord can prevent your Mac from receiving power. If you have a spare cord, try using that instead.
- Look for battery indicators: On some MacBook models, you can check the battery status using the indicator lights on the side. If the battery is drained, you may need to wait a few minutes after plugging in the charger for the Mac to turn on.
- Disconnect all accessories: Unplug everything connected to your Mac, including printers, external drives, and USB hubs. Sometimes, a faulty peripheral can interfere with the startup process.
2. Hit the reset button
Sometimes, your Mac needs a fresh start. Similar to rebooting your phone, power cycling can often resolve minor glitches preventing your Mac from starting up. Here’s how:
- Force shutdown: Press and hold the power button on your Mac for about 10 seconds. This forces your Mac to shut down completely, even if it’s frozen or unresponsive.
- Wait and restart: After shutting down, wait a few seconds before pressing the power button again to restart your Mac.
This simple action can clear temporary memory issues and allow your Mac to boot up normally.
3. Boot in Safe Mode
Safe Mode is like a diagnostic checkup for your Mac. It starts your system with the bare minimum, disabling unnecessary startup items and third-party extensions that might be causing conflicts. This can help pinpoint whether a software issue is preventing your Mac from starting normally.
Here’s how to boot in Safe Mode:
- For Intel-based Macs:
- Turn on or restart your Mac.
- Immediately press and hold the Shift key.
- Release the Shift key when you see the login window.
- You might be asked to log in again. Safe Boot should appear in the menu bar.
- For Macs with Apple Silicon:
- Shut down your Mac completely.
- Press and hold the power button until Loading startup options appears.
- Select a volume.
- Press and hold the Shift key, then click Continue in Safe Mode.
If your Mac starts up successfully in Safe Mode, it suggests a software issue is the culprit. Try uninstalling recently installed applications or updating your software to see if that resolves the problem. To exit Safe Mode, simply restart your Mac normally.
4. Check the display
Sometimes, your Mac might start up just fine, but the display is the issue. Before moving on to more complex solutions, let’s rule out some common display problems:
- Brightness check: It sounds simple, but make sure your screen’s brightness isn’t turned all the way down or off. Try increasing the brightness using the function keys on your keyboard.
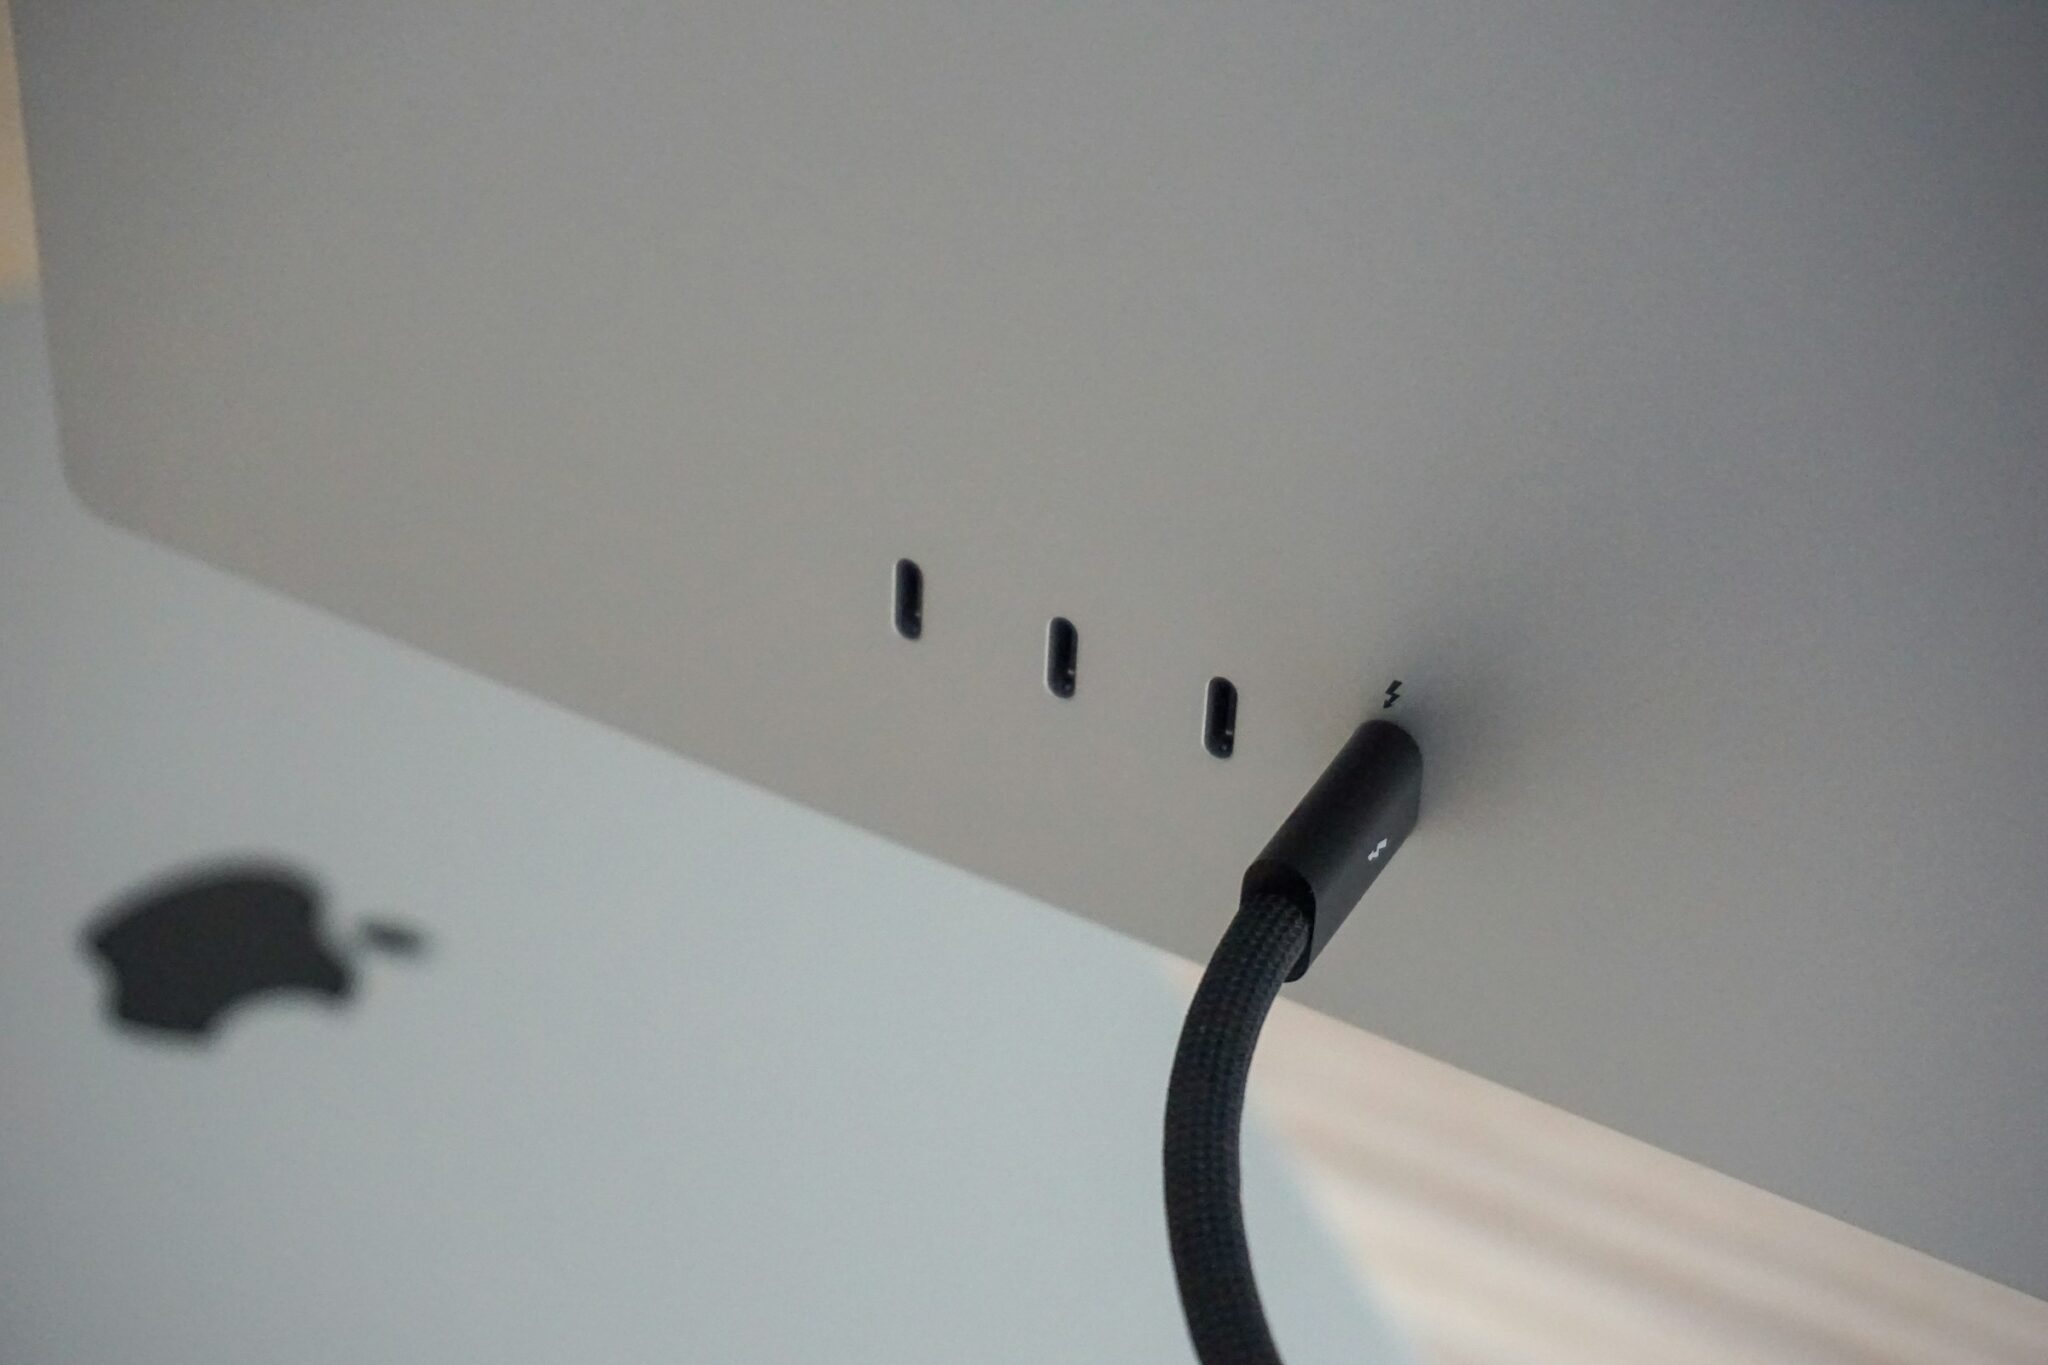
- External monitor test: Connect an external monitor to your Mac. If the external monitor displays an image, your Mac is likely starting up, but the built-in display may be faulty.
- Check for loose connections: If you’re using an external monitor, ensure the cables are securely connected to both the monitor and your Mac.
If you suspect a display issue and an external monitor doesn’t help, it might be time to seek professional help.
5. Reset the SMC
The SMC (System Management Controller) is a low-level chip in your Mac that manages various hardware functions, including power management, battery charging, and fan control. Resetting the SMC can resolve many startup issues, especially those related to power or hardware.
The process for resetting the SMC varies depending on your Mac model:
For Macs with Apple Silicon:
- Shut down your Mac.
- Press and hold the power button for 10 seconds, then release.
- Wait a few seconds, then press the power button again to turn on your Mac.
For Macs with a T2 chip:
- Shut down your Mac.
- Press and hold the right Shift key, the left Option key, and the left Control key for 7 seconds.
- While still holding those keys, press and hold the power button for another 7 seconds.
- Release all keys.
- Wait a few seconds, then press the power button again to turn on your Mac.
For Macs with a non-removable battery:
- Shut down your Mac.
- Plug in the MagSafe or USB-C power adapter.
- On the built-in keyboard, press Shift-Control-Option on the left side of the keyboard, then press the power button at the same time.
- Hold all keys and the power button for 10 seconds.
- Unplug the power cord.
- Wait 15 seconds.
- Plug the power cord back in.
- Wait 5 seconds. Press and hold the power button for 8 seconds.
- Release the power button, then wait a few seconds.
- Press the power button again to turn on your Mac.
After resetting the SMC, try restarting your Mac. If the issue persists, move on to the next troubleshooting step.
6. Resett the NVRAM
NVRAM (Non-Volatile Random-Access Memory) is a small amount of memory your Mac uses to store certain settings and access them quickly, even when turned off. These settings include things like sound volume, display resolution, startup disk selection, and recent kernel panic information.
If you’re experiencing startup problems, especially those related to these settings, resetting the NVRAM might help.
Here’s how to reset the NVRAM on most Mac models:
- Shut down your Mac.
- Turn it on and immediately press and hold these four keys together: Option, Command, P, and R.
- Keep holding the keys for about 20 seconds. You might hear the startup chime sound twice or see the Apple logo appear and disappear twice. On Mac computers with Apple Silicon, you might need to hold the keys until the Apple logo appears and disappears a second time.
- Release the keys.
After resetting the NVRAM, your Mac will start up normally. You might need to readjust some of your system settings, such as the sound volume or display resolution, as these may revert to their default values.
7. Reinstall macOS
If you’ve tried the previous steps and your Mac still won’t start, reinstalling macOS might be the solution. This process replaces your Mac’s operating system with a fresh copy, potentially eliminating any software corruption or glitches that are preventing startup.
Here’s how you can reinstall macOS:
- Boot into macOS Recovery:
- Intel-based Macs: Restart your Mac while holding down Command + R.
- Macs with Apple Silicon: Turn on your Mac and continue to press and hold the power button until you see the startup options window. Click Options, then click Continue.
- (Optional) Repair the disk:
- In macOS Recovery, open Disk Utility.
- Select your startup disk and click First Aid to check for and repair any disk errors.
- Reinstall macOS:
- In macOS Recovery, choose Reinstall macOS.
- Follow the onscreen instructions. You’ll need to connect to the internet to download the latest macOS version.
8. Run Apple Diagnostics
If your Mac still refuses to start after trying the previous steps, it’s time to dig deeper and check for potential hardware problems. Apple Diagnostics is a built-in tool that can help identify issues with your Mac’s memory, sensors, and other components.
Here’s how to run Apple Diagnostics:
- Disconnect all external devices except your keyboard, mouse, display, and Ethernet connection (if applicable).
- Shut down your Mac.
- Turn on your Mac and immediately press and hold the D key.
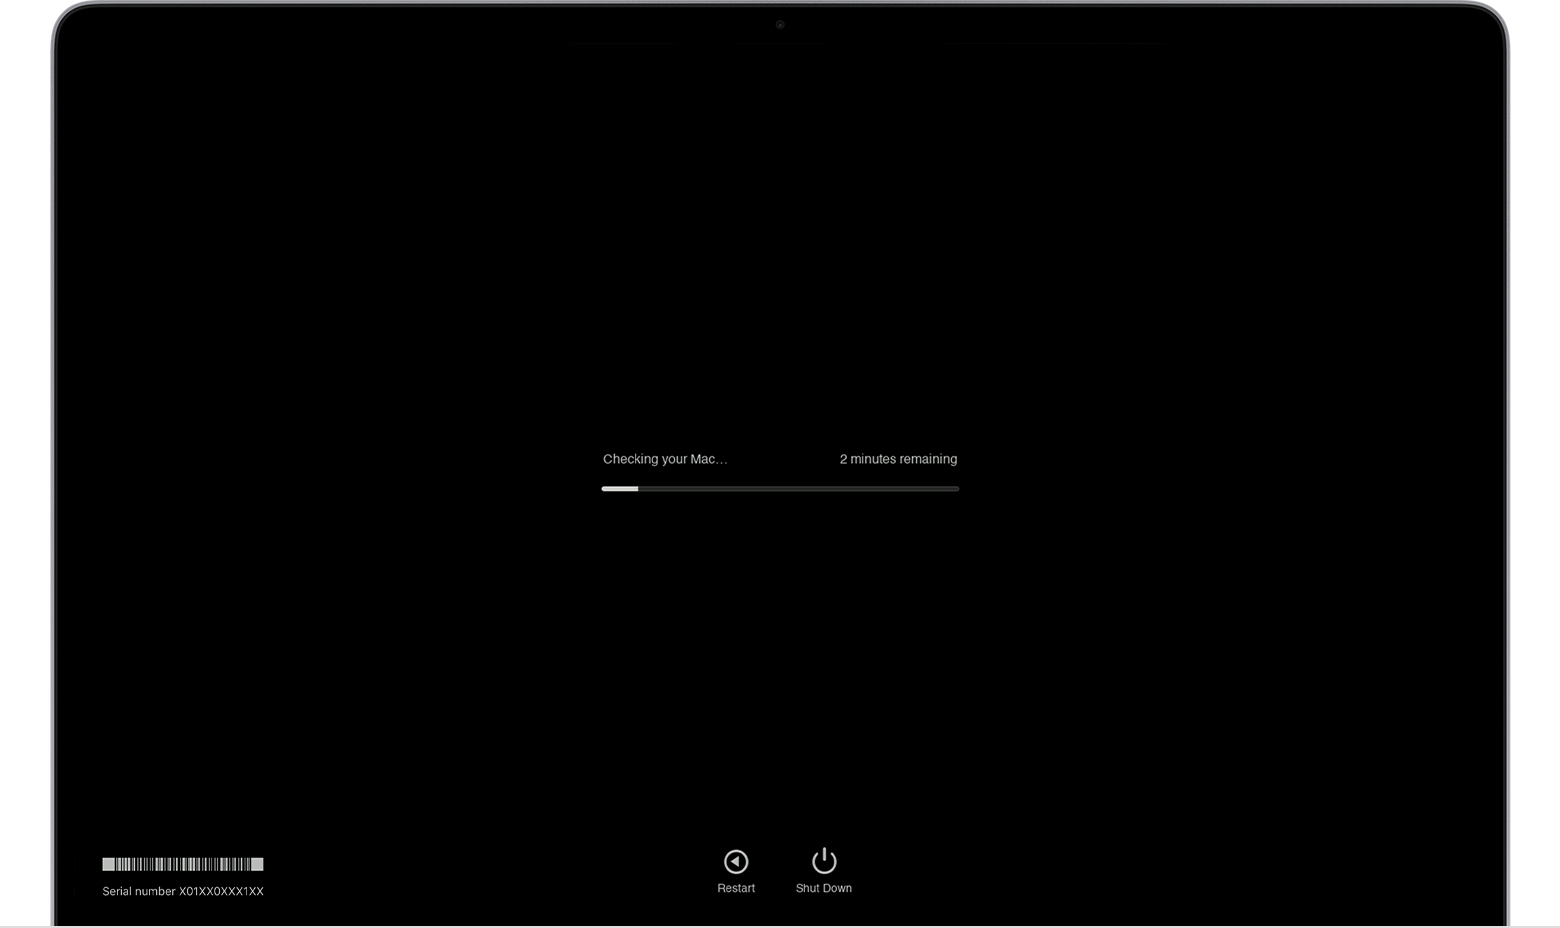
- Keep holding the D key until you see the Apple Diagnostics screen. This may take a few moments.
- Follow the onscreen instructions. Apple Diagnostics will run a series of tests on your Mac.
- Note any error codes that appear. These codes can provide valuable information about the potential hardware problem.
For Macs with Apple Silicon:
- Shut down your Mac.
- Press and hold the power button until "Loading startup options" appears.
- Press Command-D.
- Follow the onscreen instructions.
Once the tests are complete, Apple Diagnostics will display the results. If any issues are found, note the error codes and contact Apple Support or an authorized service provider for further assistance. Even if no errors are found, running Apple Diagnostics can provide peace of mind and help rule out hardware problems.
9. Contact Apple Support
If you’ve exhausted all the previous troubleshooting steps and your Mac still refuses to cooperate, it’s time to seek professional help. Apple Support and authorized service providers have the expertise and tools to diagnose and fix more complex hardware or software issues that may be preventing your Mac from starting.
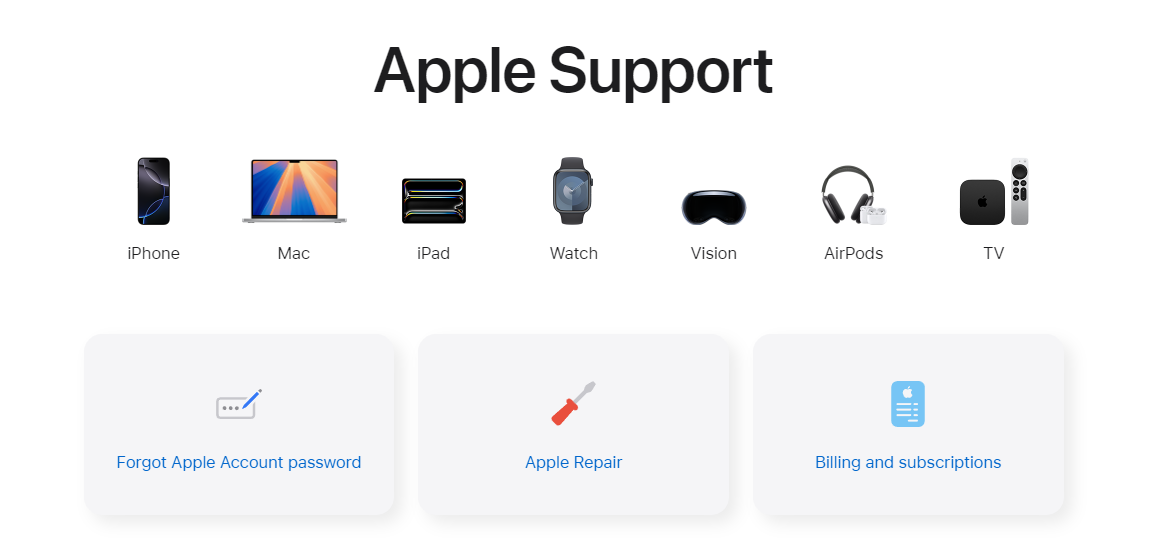
Here are some ways to contact Apple Support:
- Apple Support website: Visit the Apple Support website (support.apple.com) to access online resources, chat with a support representative, or schedule a call.
- Apple Support app: If you have another Apple device, you can use the Apple Support app to get help with your Mac.
- Apple Store: Make an appointment at your local Apple Store to have your Mac examined by a Genius.
- Authorized service provider: Find an authorized service provider in your area by visiting the Apple website.
Before contacting support, gather the following information:
- Your Mac’s serial number: This can be found on the bottom of your Mac or in the About This Mac window.
- Any error messages you’ve encountered: Note down any error codes or messages that appeared during startup or troubleshooting.
- A description of the problem: Be prepared to explain the issue in detail, including what you’ve already tried to fix it.
While it can be frustrating to admit defeat, contacting Apple Support is often the best way to get your Mac back up and running when all else fails. They can provide expert guidance, diagnose the problem accurately, and offer repair or replacement options if necessary.
10. Consider a refurbished Mac
If troubleshooting hasn’t revived your Mac and repair or a new model isn’t in your budget, there is a middle ground: refurbished Macs.
Apple and other certified retailers offer Macs that have been thoroughly inspected, repaired (if needed), and restored to perfect working condition. They come with a warranty and often significant cost savings compared to buying new ones.
Here’s why you should consider getting a refurbished Mac:
- Significant savings: Refurbished Macs can offer substantial discounts compared to their brand-new counterparts, making them a budget-friendly option.
- Like-new condition: These Macs undergo rigorous testing, and any faulty components are replaced to ensure they function like new.
- Warranty: Refurbished Macs come with a warranty, providing peace of mind and protection against potential issues.
- Environmentally friendly: Choosing a refurbished Mac is a sustainable choice that reduces electronic waste.
To compare prices and find the best deals on refurbished Macs, use a platform like RefurbMe. We aggregate listings from various sellers, allowing you to easily compare models, warranties, and prices. You can even set up alerts to be notified when a specific model becomes available.
For instance, you can take a look at all MacBook models with Apple Silicon in real time here. 👇

Apple M1 with 8-core CPU, 7-core GPU
8GB memory • Space Gray
with Touch Id • 2020 release

Apple M1 with 8-core CPU, 7-core GPU
8GB memory • Silver
with Touch Id • 2020 release
Apple M1 with 8-core CPU, 8-core GPU
8GB memory • Silver
with Touch Id • 2020 release
Happy shopping! 🛍️
Last updated: Oct 30, 2024 · First published: Oct 8, 2024